Manage Customer Login Pages in the Back-Office
You can customize the content that appears on the login page of the storefront:
Top content
Bottom content
CSS Styles
Add a logo
Add a background image
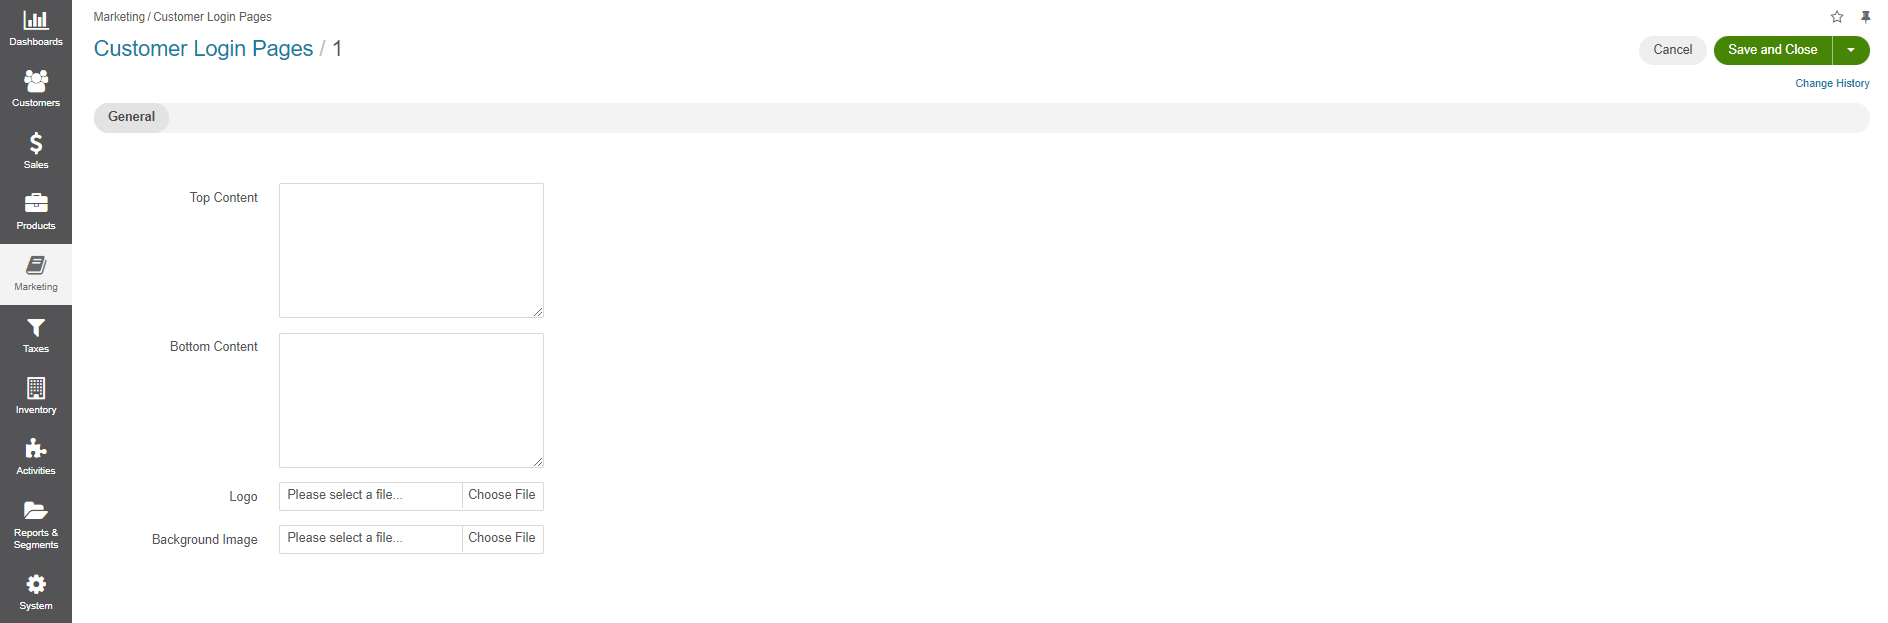
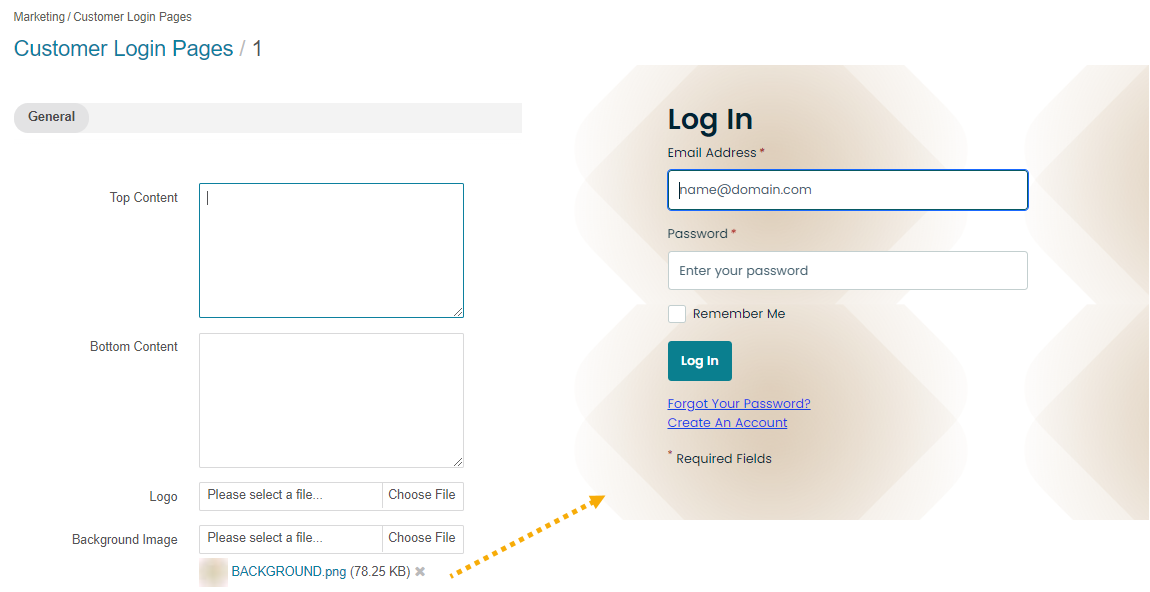
To edit the existing customer login page:
Navigate to Marketing > Customer Login Pages in the main menu.
Click at the end of the row.
Note
There is only one customer login page available, and you cannot create more. If you update the login page in one organization, the changes will be reflected in other existing organizations.
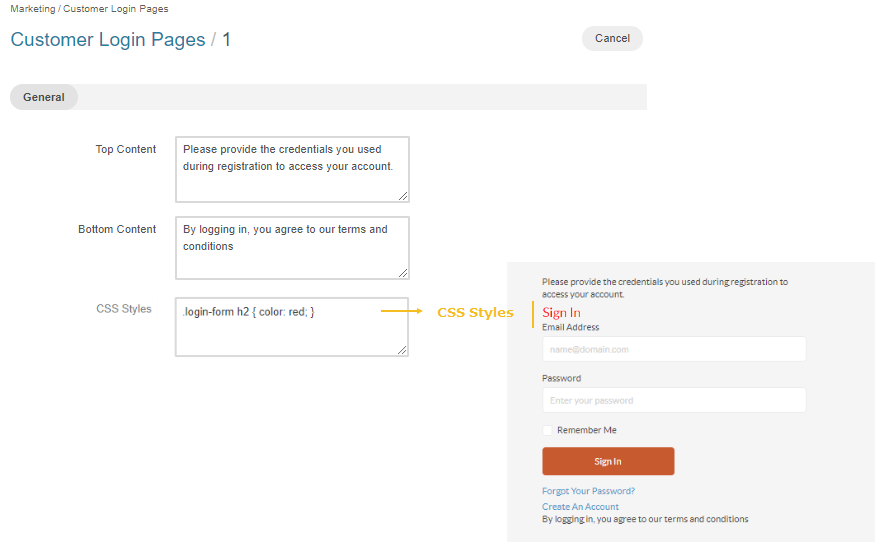
To update Top Content, provide the text of your choice in the related field block. Once saved, the content in the storefront will be updated with new content appearing above credentials input fields.

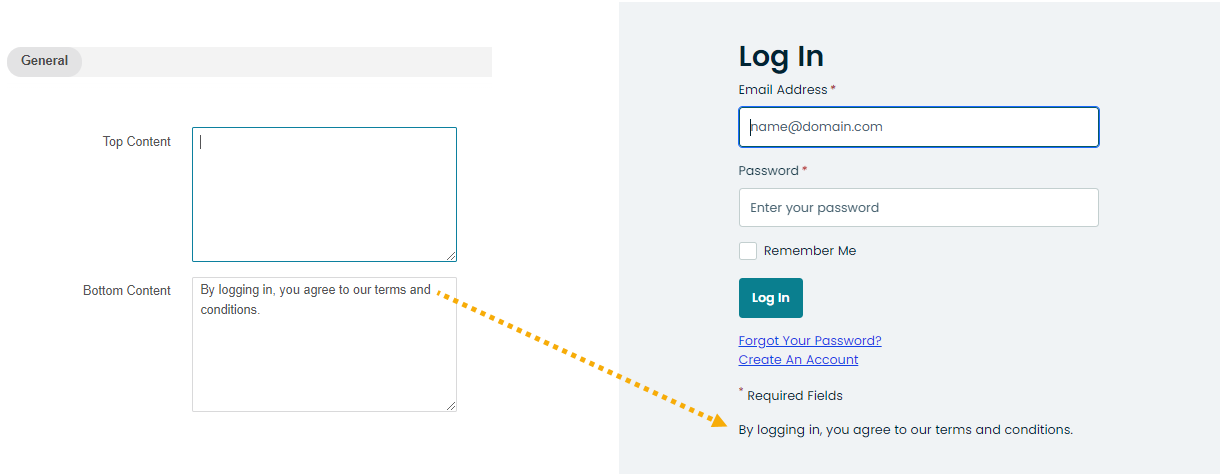
To update Bottom Content, provide the text of your choice in the related field block. Once saved, the content in the storefront will be updated with new content appearing below the Log In button.
To update CSS Styles, provide CSS code in the block to the right. Once saved, the content in the storefront will be updated after page refresh.
Note
Depending on your application configuration, the CSS Styles field might only be visible to your administrator. You can enable/disable this setting in the config/config.yml file.
To add a Logo, click Choose File next to the Logo field and select a picture for the login page.
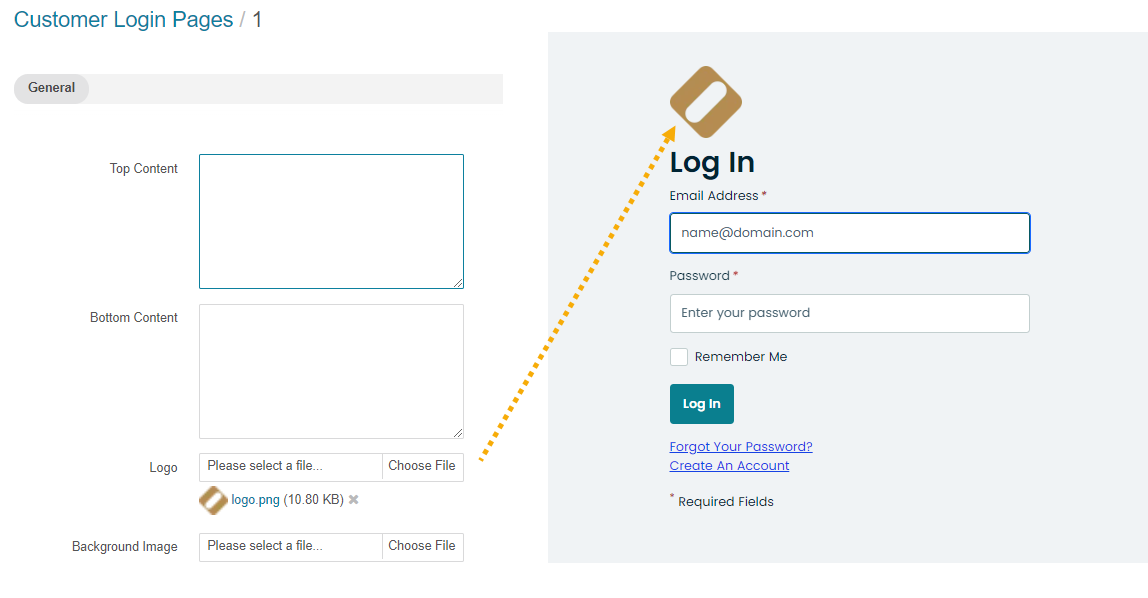
Click next to the uploaded file to remove the selected logo.
To add a Background Image, click Choose File next to the Background Image field and select a background picture for the login page.
Click Save and Close.