Import Product Attributes
Hint
This section is part of the Data Import concept guide topic that provides guidelines on import operations in Oro applications.
Import File option helps import a large bulk of product attributes information into the product attributes list using the .csv file.
Example of product attributes bulk import template
fieldName |
type |
entity.label |
entity.description |
entity.contact_information |
form.is_enabled |
importexport.header |
importexport.order |
importexport.identity |
attachment.mimetypes |
|---|---|---|---|---|---|---|---|---|---|
field_money |
money |
label_value |
description_value |
marketinglist.entity_config. |
yes |
header_value |
12 |
no |
mimetypes_value |
Note
Keep in mind that multi-select attribute type doesn’t support the sorting option, so make sure to set this option to “0” or “No” when preparing the corresponding file for importing.
To import a bulk of product attributes:
In the main menu, navigate to Products > Product Attributes.
Click Import File on the top right.
Hint
You may receive the following warning message which notifies you about the limits for the number of attributes that can be imported, which can effect the future export of entities.
The number of attributes stored as columns in the X table (the attributes that are relations or that have ever been marked as “A”, “B”, “C”) is approaching the limit after which it will no longer be possible to export Y with the standard X export. Remaining number of attributes - approximately Z. |
Pay attention that the maximum number of columns in the row must fit in a single 8192-byte heap page. For example, if all the columns are simple fields, such as integer values, then the quantity of columns can reach 1,600. The number of fields or attributes in the exporting entity must be within the bespoke limit; otherwise, this may impose a restriction on export functionality.
Once 90% of the limit is reached, you will receive a flash message with the related warning.
Reaching 100% of the limit triggers a warning message on a potential inactive export when clicking the Export button.
Prepare data for import: Create your bulk information in the .csv format. Once your file is ready, click Choose File, select the prepared comma-separated values (.csv) file, and click Import File.
Note
Ensure that your .csv file is saved in the Unicode (UTF-8) encoding. Otherwise, the content of the file can be rendered improperly.
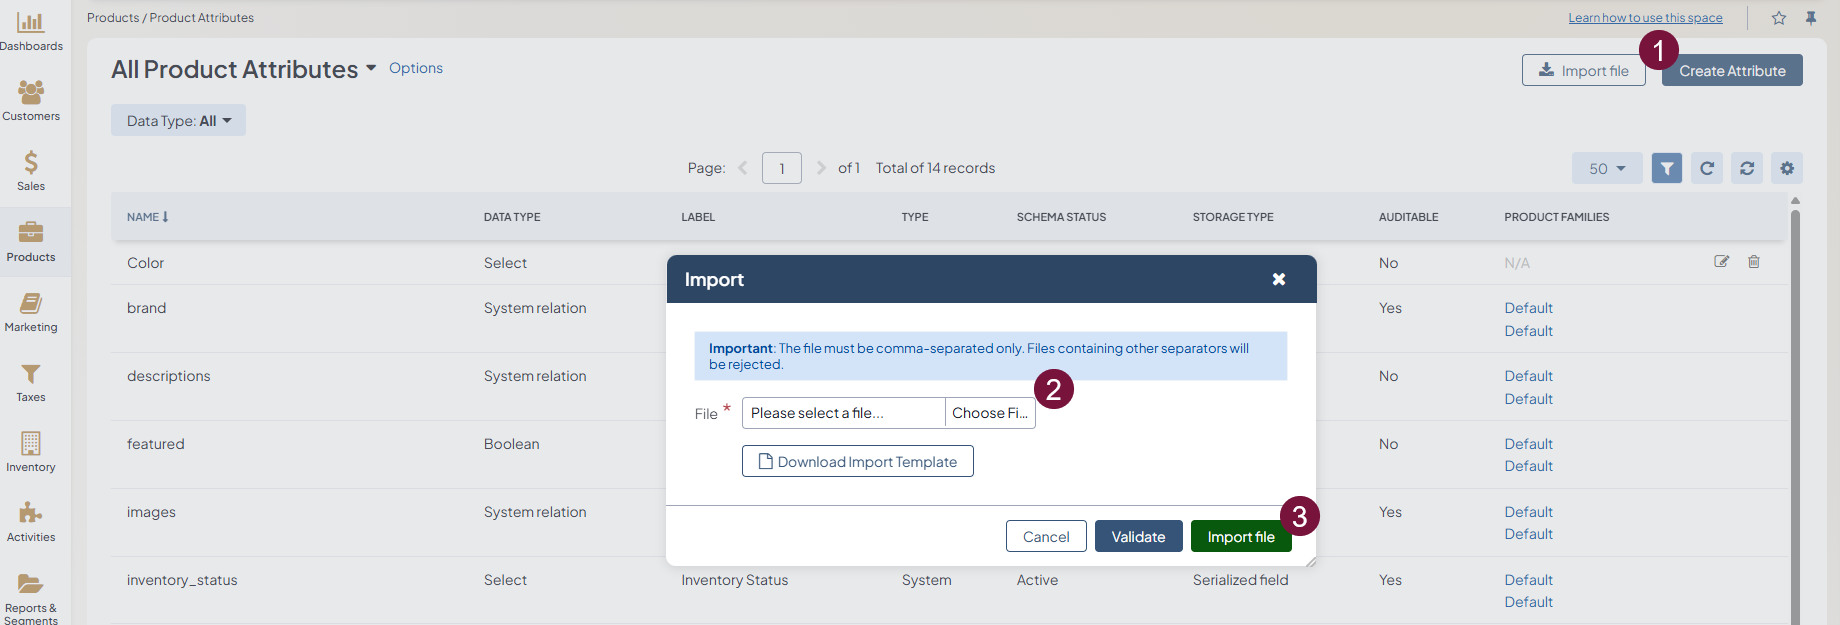
Validate import results: Click Validate to check your import results. If there are any Records with errors, fix them in the .csv file before starting the import.
Launch import: After successful validation, click Import File.
Click Cancel to decline the import.
Important
Interactive status messages inform about the import progress, and once the import is complete, the changes are reflected in the list upon refresh. Additionally, an email message with the import status is delivered to your mailbox.
Follow the on-screen guidance for any additional actions. For example, for the inventory template, select one of the options: a) inventory statuses only or b) detailed inventory levels.