Prerequisites for Authorize.Net Integration in the Back-Office
To start using Authorize.Net with the OroCommerce application, follow the steps below:
Sign up for the Authorize.Net service and configure it.
To set up an account in USD or CAD, sign up for the service at authorize.net. If you would like your account to operate in a different currency, use one of the local Authorize.Net websites (see Authorize.Net Support).
Important
Authorize.Net can process payments in different currencies, however, it does not offer multi-currency accounts. Therefore, you need to create a separate gateway account with Authorize.Net and separate integration in OroCommerce for every currency in which you would like to accept payments.
While configuring your Authorize.Net account, note down the security measures and, particularly, the Card Code Verification (CCV) security setup. Ensure that Authorize.Net integration configuration in the OroCommerce is aligned with the one in Authorize.Net. For example, the Require CVV Entry option should indicate whether your Authorize.Net account is set to demand CVV from buyers, or not.
On your Authorize.Net merchant interface, locate or generate the following credentials:
API Login ID
Transaction Key
Public Client Key
You need them to set up the integration between OroCommerce and Authorize.Net.
See the Retrieve Authorize.Net Credential section for more information.
In your Oro back-office, configure an integration with Authorize.Net. See the Authorize.Net Integration topic for more information. You can configure several integrations with different sets of options to enable multiple Authorize.Net payment methods for the checkout.
In your Oro back-office, configure a payment rule that defines conditions under which the configured payment method is available during the checkout. For example, a certain method may be available for customers from France, or only when a shopping cart amount exceeds $1000. See the Payment Rules topic for more information.
Now you are ready to accept card payments via Authorize.Net.
Retrieve Authorize.Net Credentials
To set up the integration with OroCommerce, first retrieve Authorize.Net credentials:
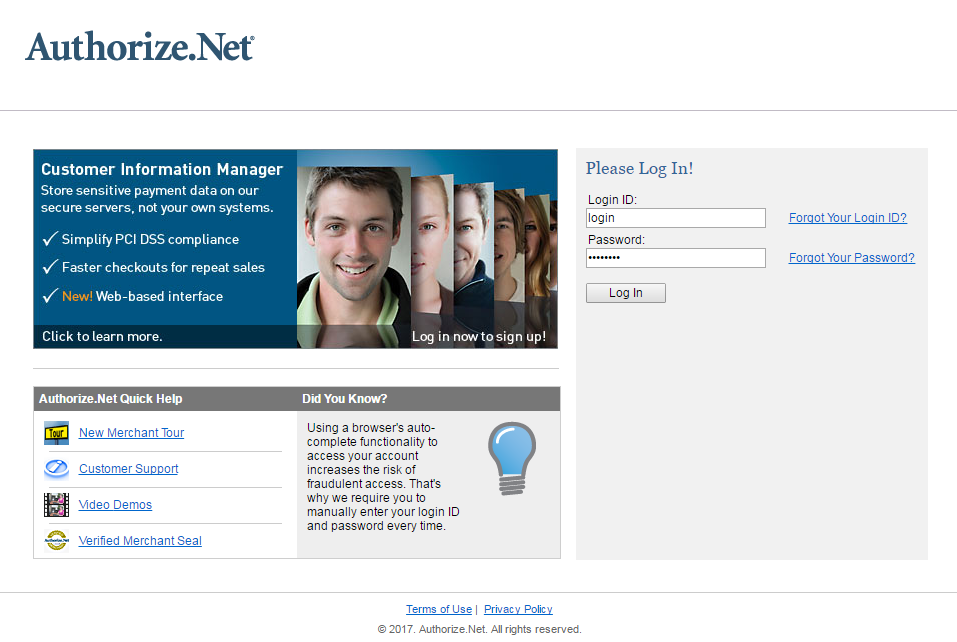
Open https://account.authorize.net/ and log into Authorize.Net merchant interface:
Navigate to Account > Settings > Security Settings.
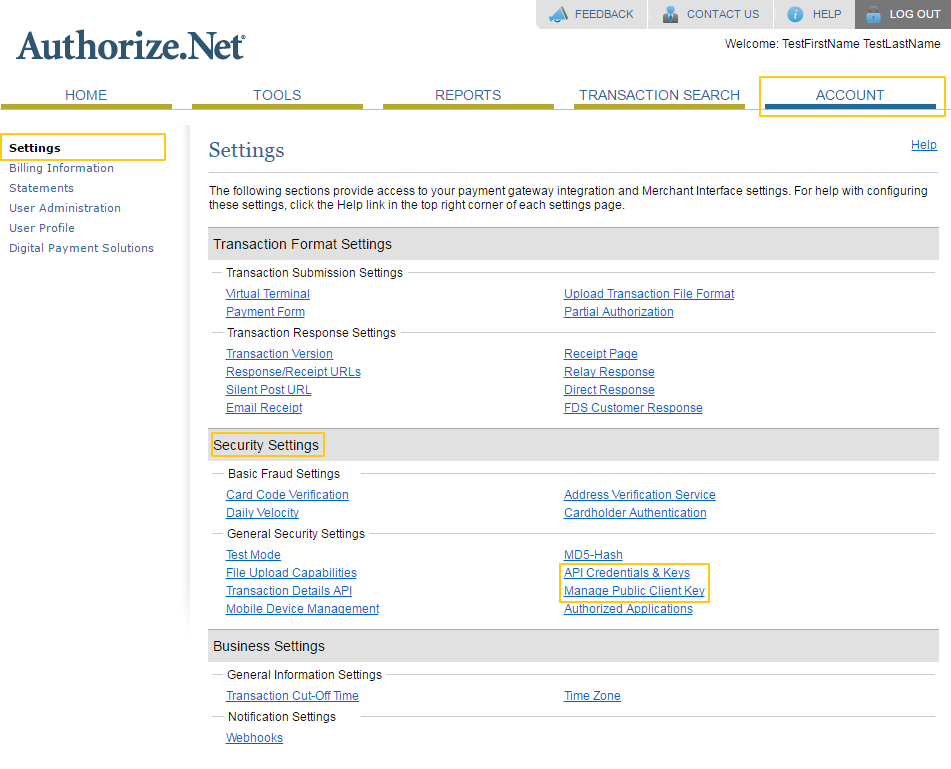
Click API Credentials & Keys and on the page that opens copy your API login ID and transaction key. If required, generate new ones.

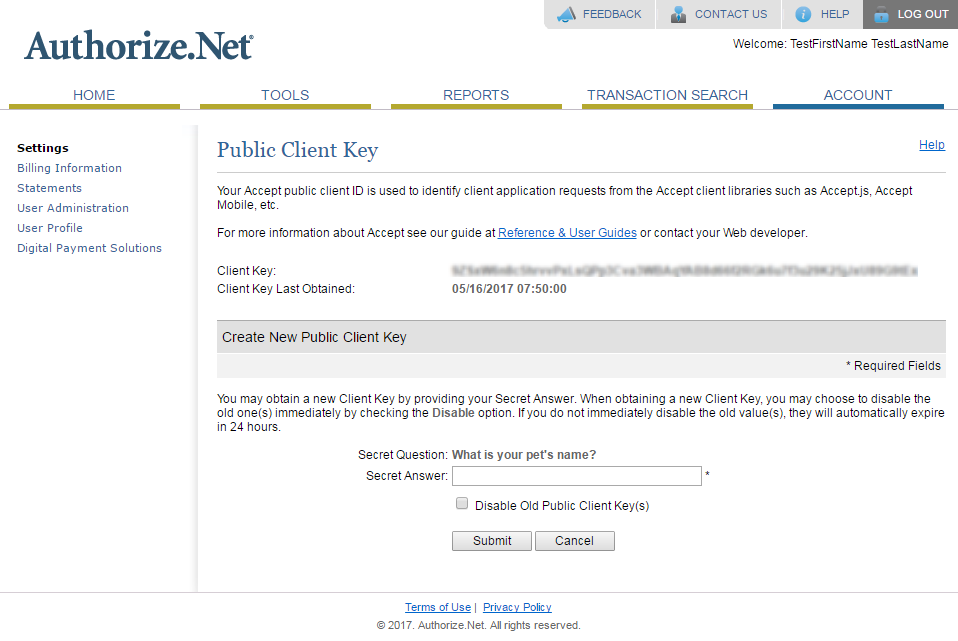
Click Manage Public Client Key and on the page that opens copy your public client key. If required, generate a new one.
Test Authorize.Net Integration
When you set up an Authorize.Net integration for the first time and would like to check how payment via Authorize.Net works, you can use Authorize.Net Sandbox Account. In a sandbox environment, with emulated transactions, you can test your customization and use the checkout with payment methods enabled by Authorize.Net.
To troubleshoot the integration issues or demonstrate the payment process, you can use your merchant’s Authorize.Net account in Test Mode.
Test Mode
Set up an integration using the API Login ID and keys generated for your actual Authorize.net account. Enable the Test mode option to inform the system that you would like only to test the connection to Authorize.Net.
Transactions made in the test mode are not sent to a financial institution for processing (i.e. actual money transfer does not take place). These transactions are not stored by the payment gateway and do not appear in search results and reports. Returned transaction ID is zero.
Important
The test mode can be set up on the Authorize.Net merchant interface and on the Oro back-office (in the Authorize.Net integration settings). Settings made via the Oro back-office override settings made via Authorize.Net merchant interface.
Enable the Test Mode
To enable the test mode, complete the following:
Navigate to System > Integrations > Manage Integrations.
Click the Authorize.Net integration for which you would like to turn the test mode on.
On the integration edit page, find the Test Mode checkbox and select it.
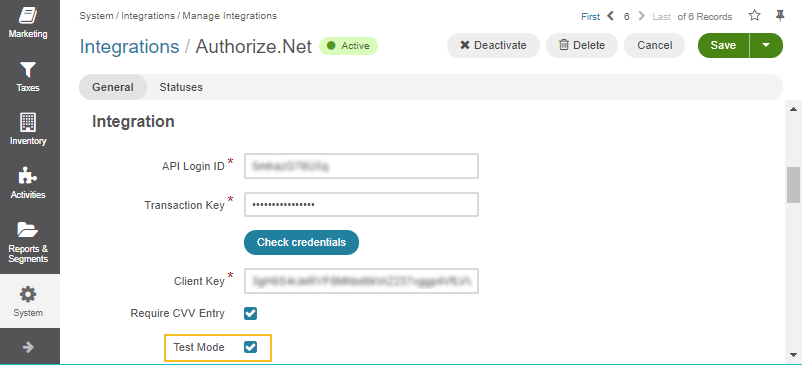
Click Save and Close.
Sandbox Account
Create a special free test account at https://developer.authorize.net/hello_world/sandbox/, and use the API Login ID and keys generated for it.
Transactions made via integration that uses the API Login ID and keys generated for sandbox account are sent to the special testing server and are not sent to the financial institution for processing. However, in other aspects, the sandbox works the same as actual production server, and returns proper transaction IDs.
Important
Do not use the test mode with your sandbox account if you require proper responses from the server.
Use sandbox account when customizing the Authorize.Net integration or if you do not have an actual account with Authorize.Net but you would like to check how the integration works.
For more information about how to use the sandbox, see Authorize.Net Testing Guide.